Submitting An Online Indian Visa Application: Step-By-Step Guide
Are you planning a trip to India and need to apply for a visa? Look no further! This step-by-step guide will walk you through the process of submitting an online Indian visa application. It’s quick, convenient, and hassle-free.
First, determine your visa type and eligibility – whether it’s a tourist visa, business visa, or any other category.
Next, gather all the required documents, such as your passport, photograph, and supporting documents.
Then, create an account on the Indian Visa Application website and fill out the application form. Remember to provide accurate and complete information.
After that, pay the visa fee securely through the online payment portal.
Finally, submit your application and track its status.
With this guide, applying for an Indian visa has never been easier. So, let’s get started on your journey to India!
Key Takeaways
- Determine the appropriate visa type and eligibility based on the purpose of travel and specific requirements set by the Indian government.
- Gather all the required documents, including a valid passport, recent passport-sized photograph, and scanned copies of passport pages, and review the specific requirements for the chosen visa type.
- Create an account on the Indian Visa Application website by providing an email address and creating a strong password.
- Fill out the online application form accurately, double-checking all information to avoid mistakes or delays, and proceed with the payment of the non-refundable visa fee.
Determine Your Visa Type and Eligibility
To ensure you choose the correct visa type and determine your eligibility, carefully consider your purpose of travel and the specific requirements set by the Indian government.
First, determine the duration of your visa. The Indian government offers various visa types, such as tourist, business, student, and medical visas. Each visa type has its own requirements and permitted duration of stay. For example, if you plan to visit India for tourism purposes, you can apply for a tourist visa which allows a maximum stay of 180 days.
Once you have determined the visa type that suits your purpose, proceed with the visa application process.
The visa application process involves filling out an online application form, providing necessary personal and travel details, and uploading supporting documents. The Indian government provides a user-friendly online portal for completing the application. Double-check all the information you provide to avoid errors or delays in processing your application. After successfully submitting your application, you will receive an application reference number, which you should keep handy for future reference.
Now that you have determined your visa type and eligibility, it’s time to gather the required documents to support your application.
Gather the Required Documents
Make sure you have all the necessary documents ready for your Indian visa application. To successfully apply for an Indian visa online, you will need to gather the required documents.
The document checklist includes:
- A valid passport with at least six months of validity remaining and two blank pages for visa stamps.
- A recent passport-sized color photograph with a white background.
- A scanned copy of your passport’s bio page, as well as any previous Indian visa pages, if applicable.
If you are applying for a business visa, you will need:
- An invitation letter from the Indian company or institution you will be visiting.
For a tourist visa, you may need to provide:
- A copy of your flight itinerary and hotel reservations.
It is important to carefully review the specific requirements for your visa type to ensure you have all the necessary documents.
Once you have gathered everything, you can proceed to the next step and create an account on the Indian visa application website, making the process even more convenient.
Create an Account on the Indian Visa Application Website
Creating an account on the Indian Visa Application website is essential for a smooth application experience. Here’s how to get started:
- Visit the website and click on the ‘Register’ button.
- Provide your email address and create a strong password.
- Remember to include a combination of letters, numbers, and special characters in your password.
- Once you’ve completed the registration, check your email for a verification email.
- Click on the link provided in the email to verify your account.
- If you encounter any issues during the account creation process, refer to the website’s troubleshooting guide for assistance.
- Common issues may include forgetting your password or facing technical difficulties.
After successfully creating your account, you can proceed to the next section and fill out the application form. Provide all the necessary information about your trip and personal details.
Fill Out the Application Form
Once you’ve successfully created your account, all that’s left to do is fill out the application form with the necessary details about your trip and personal information. To ensure a smooth and error-free process, it’s important to be aware of some common mistakes and follow a few tips when filling out the form.
First, let’s take a look at a table that highlights the key sections of the application form:
| Section | Description |
|---|---|
| Personal Information | Fill in your name, date of birth, and address. |
| Passport Details | Enter your passport number and expiration date. |
| Travel Information | Provide details about your trip to India. |
| Additional Information | Include any relevant information or comments. |
Now that you have a clear understanding of the different sections, let’s discuss some tips for filling out the application form. Make sure to double-check all the information you enter to avoid any mistakes. It’s crucial to provide accurate and up-to-date details, as any discrepancies could lead to delays or even rejection of your application.
Once you have completed the application form, you can proceed to the next step of paying the visa fee.
Pay the Visa Fee
To continue with the visa process, you’ll need to take the next step and pay the visa fee, allowing your journey to India to come one step closer to reality.
When it comes to paying the visa fee, there are several convenient options available. The Indian government provides multiple payment methods to cater to your needs. You can pay the visa fee through online banking, debit or credit card, or even through a mobile wallet.
Make sure to choose the option that suits you best and proceed with the payment. Once you have completed the payment, it is important to note that the visa fee is non-refundable. Therefore, double-check all the information before making the payment. In case your visa application gets rejected for any reason, the visa fee will not be refunded.
With the visa fee paid, you can now move on to the next section where you will submit your application and track its status seamlessly.
Submit Your Application and Track its Status
Ready to see your visa application through to the end? Now it’s time to submit your application and easily keep track of its progress.
Once you have completed all the necessary steps, reviewed your information, and paid the visa fee, it’s time to submit your application. Simply click on the ‘Submit’ button, and your application will be sent to the Indian embassy for processing.
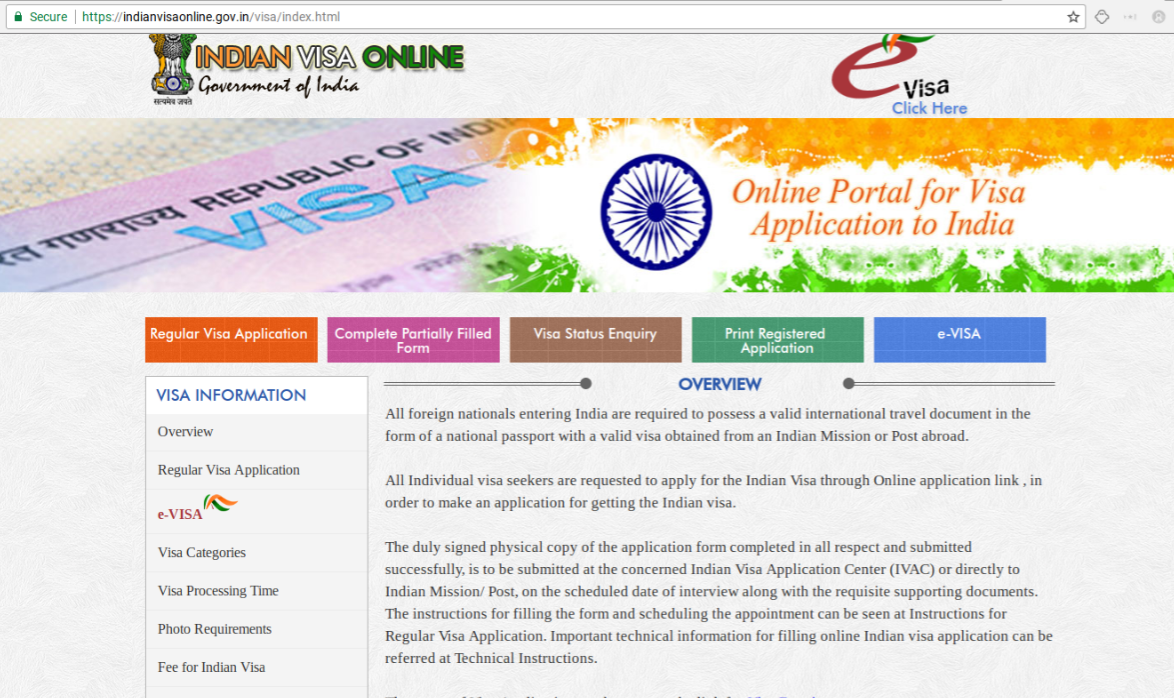
After submitting your application, it is important to track its progress to ensure everything is in order. You can easily do this by visiting the official Indian Visa Online Application website and entering your application ID and date of birth. This will provide you with real-time updates on the status of your application, including any additional documents that may be required or if your application has been approved.
While tracking your application, it is important to be aware of common errors that may occur during the process. These errors can include missing documents, incorrect information, or incomplete forms. By regularly checking the status of your application, you can promptly address any errors that may arise and prevent delays in the processing of your visa. Make use of the Indian Visa Application Online system for a smoother application process.
By following these steps and closely monitoring your application’s progress, you can ensure a smooth and hassle-free experience when applying for an Indian visa online.
Frequently Asked Questions
Can I apply for an Indian visa if I have previously been denied?
Yes, you can reapply for an Indian visa even if you have been denied before. However, make sure you meet the eligibility criteria and address any previous concerns in your new application.
How long does it typically take for an Indian visa application to be processed?
The processing time for an Indian visa application varies, but it typically takes around 4-7 working days. Make sure you have all the necessary documents ready to avoid any delays in the process.
What should I do if I make a mistake on my visa application form?
If you make a mistake on your visa application form, you can correct the errors by submitting a new application. Make sure to double-check the information before submitting to avoid any issues.
Is it possible to expedite the processing of an Indian visa application?
Yes, it is possible to expedite the processing of your urgent visa application. You can request for expedited processing to speed up the approval process and receive your Indian visa sooner.
Are there any additional fees or charges associated with the Indian visa application process?
There may be additional fees or charges associated with the Indian visa application process. You have various payment options to choose from when it comes to paying these fees.
Conclusion
In conclusion, you’ve successfully completed the process of submitting an online Indian visa application.
First, you determined your visa type and gathered the required documents.
Next, you created an account on the Indian Visa Application website.
Then, you filled out the application form with accurate and complete information.
After that, you paid the visa fee using the available payment options.
Finally, you submitted your application and received a confirmation.
By following these step-by-step instructions, you’ve taken the necessary steps for a smooth and efficient application process.
Now, you can track the status of your application and look forward to your upcoming trip to India.


