Painting your own house is a fun and exciting thing once you can engage in it. It doesn’t need any hard effort or extreme knowledge. You need the right tools and pieces of equipment. Before proceeding with the painting tips, if you think that there are specific designs or other textures that need to be added and you are not so confident enough, you can always hire interior painters in London. They are professional enough to understand your needs and also help you in advising what might and might not look good on your wall.
Here’s a quick view on how you can prepare your walls before painting:
Contents
Preparation
Preparation is the most important phrase of anything, whether you are painting a wall or just decorating your house. In terms of interior painting, you have to clean your room and do away with things that are a waste. You have to clear the room and take away the wrong things and also your dresses and other furniture. Put your bed in the basement for a few days and sleep down there. It might be a little bit hard for you, but the result would always be fruitful. Hence a little bit of discomfort isn’t a big deal. Put all your dresses in the living room. In the long run, it just saves a lot of time when you are trying to work around stuff and move objects away. Whilst we focus on home decoration the same tips apply to decorating your mobile home or refurbishing your caravan kitchen cupboards with fresh paint.
Protecting Outlet Covers And Switch Boards

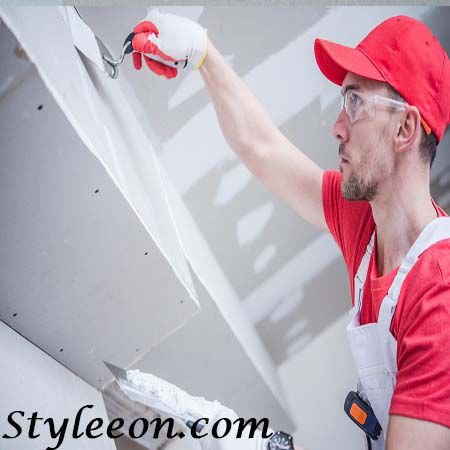
Another preparation is needed for the outlet covers and switches plates. These are the ones you have to remove while painting the walls. After this, you have to give a quick cleaning to your room. An intense cleaning is only possible through a vacuum with the brush attachment around. Start vacuuming out all the closet shells, the window baseboard, the heater, and also don’t forget about the cobwebs. Now is the time to lay your drop cloths on the floor. This will help in collecting all the paint droplets that are quite common to fall while painting. This happens to professional hands as well, so don’t be overconfident that you can’t have that!
Covering Up The Holes
The next step is to spackle any nail holes in the walls or the trim. For this, you will need a big scoop of spackle, stick it right in the middle of a piece of your painter’s plastic. Then turn this into a ghost type thing, twist it and put a piece of tape around, then take a nail and poke up a little hole right at the end of it. This will dispense spackle in a way that would be much easier to get into the small nail holes than if you are trying to scoop it out of the bucket every time.
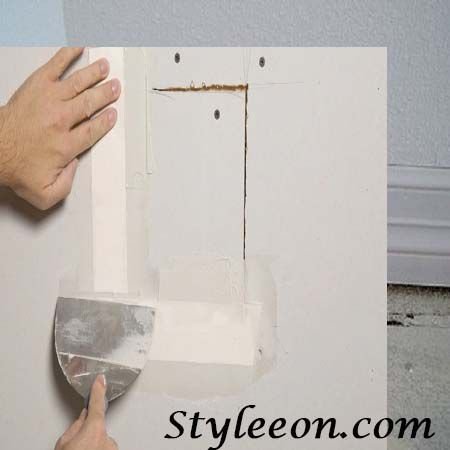
For the little nail holes and thumbtack holes, take a little bit of spackle on your fingers, rub it on the shaft, and you will get it off the surface. For the bigger holes, you will need to get rid of any loose stuff on the gaps by using your fingers. It will quickly come out, and you don’t have to force a lot! Then put the right amount of spackle on your patty knife. Remember, you don’t want to spackle holes where you would like to keep curtain rod holders. Always mark the gaps which need to be spackled and those that aren’t.
Once the spackle is dry enough, you can now go on to the next process of sanding!
Home front doors or your room entry doors are very important for home aesthetics and functionality. This article about different types of doors sheds light on their features in a very informative way.
Sanding
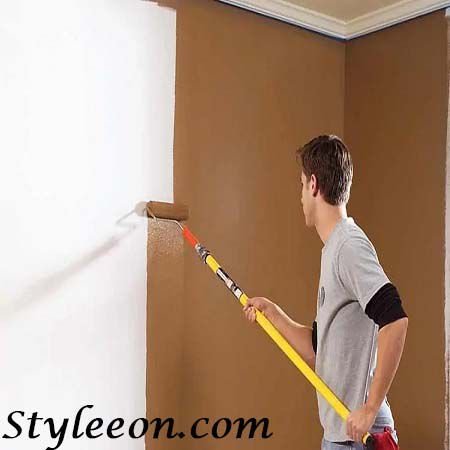
You can use sandpaper, maybe 180 or 220 grit. The best method would be to go with sanding sponges. They are really nice that move quickly. They are great for getting on the little edges. This is helping in cuffing up the surface a little bit so that it will accept the next coat of paint. Now, if you spackle nail holes, of course, you are going to get those sanded smooth. If you spackle big gaps, you can use the sanding sponges to hip down in a smooth finish. While painting doors hit the door surface with the sanding sponge. While doing this, make sure you have worn a dusking mask to protect your nose.
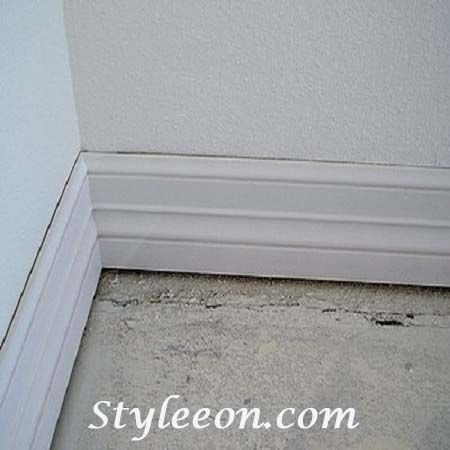
Repeat the same thing with the baseboard and crown molding. These sanding sponges will smoothen the layer to be ready for the first layer of the coat. Once you are done with the sanding process, vacuum all trim with the brush attachment.
Caulking
After you are over the spackling, sanding and vacuuming, now is the time for caulking! For this, you will need a little bucket of water with a rag in it. This will help you in dipping your fingers, which helps in manipulating the caulk. Also, you will need a dripless gun to do this job. Just go on investing the walls and find any damaged areas or cracks. With the help of a dripless gun, you have to place the caulking agent on the imperfect areas and rub it with your hands. Take a real close look at everything and find out if you have any cracks. Sealed it up before painting.
Giving an attempt to paint your walls is a significant step. But if you want a professional hand, you can always get help from professional painters and decorators in London!
Further Reading: